Wednesday, October 31, 2012

High Key Halloween

Happy Halloween Everyone.  My Incredible children on Halloween decided to be "The Incredibles", currently their favorite movie.  They come home from school every Friday and ask to watch the movie.  So, below you will see Dash - Randy, Violet - Sidney and Jack jack - Brooke.   ENJOY!!!!


Saturday, October 27, 2012

Remember....this is a journey

As I continue to on my journey I have to constantly remind myself that this is a learning process.  At times I am too hard on myself because I have not been able to launch Kala Creations in that way that I desire but then I hear my name called..."Mommy" and I am reminded of the three reasons why...Randy III, Sidney and Brooke.  And it is at this moment that I have no regrets that Kala Creations is still in the beginning stages and I know that once the kids are a little older I will launch Kala Creations the way that I always dreamed.  In the meantime I will continue to learn as much as I can and tweak/perfect all that I learn.  On that note, I am still trying to get high key photographs down to a science.  I understand the concept and all that needs to be done but at times I see where the light is wrapping onto my subject too much.  This is where the tweaking comes in.  Listed below is some of what I've learned/tweaked and applied to my high key photographs based on a 4 light set up (2 background lights, 1 fill light and one key light)
1.  Some say make the background lights 2 stops higher than your key light and others say to make it equal to your key light.  I've set my background lights around 1.5 stops higher.  When I set my background lights equal to the key my background was a little muddy
2.  Aim each background light to the edge of the opposite side of the background so that the background is evenly lit.
3.  Make sure your background light is not spilling onto your subject.  You can prevent the light from spilling by using barn doors or putting up sort of black barrier on the side of the lights.
4.  Your fill light should be 1 stop less than your key light and set up behind the camera.
5.  Your key light should be set high enough for it to be reflected in the top of the subjects eyes and 45 degrees to the subjects nose


Please take all of the above information with a grain of salt as each situation is different depending on the size of the room you are working with, the color of your walls, the height of your ceiling etc.  In addition, I welcome any and all comments that will be helpful in my JOURNEY.  

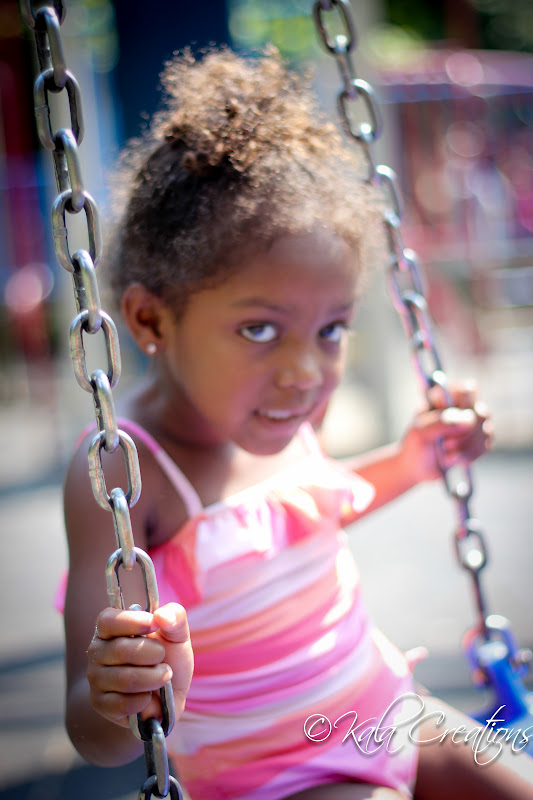
Here are my most recent high key photographs ....Enjoy!!!!
**Remember:  I am always looking for models to sit for me**
(young and old)


I truly enjoyed taking these photographs of my youngest daughter although it was a little challenging (she wanted to play with me, sit with me, and eat her cheerios with me).  I totally understand why most photographers have either a hired child wrangler (someone to entertain and help with positioning) or enlist the parents to assist.


The only problem I encountered when taking theses pictures is that the WHITE angel wings blended in with the WHITE (high key) background), lacking separation.  One of the lights (key, or background) is set too high and the power needs to be decreased.  Something to work on.  Overall, I am very VERY pleased with the outcome.


Monday, October 15, 2012

Photoshop fix (high key background)

I figured since I mentioned photoshop in my last post I might as well follow up with a way to use photoshop on the background of a high key photo that is not pure white as it should be.

Note: An easy way to check if your background is pure white is to use the dropper on different parts of the picture.  If the dropper show RGB as 255 then you have a pure white background.

I found an easy tutorial in you tube (less than 4 minutes) that fixes this issue.  You can watch the tutorial at the below link.

Click here for Cheap Shooter tutorial on white background

Here are the high key pictures before and after the photoshop edit.  Big difference!!!  Nice and clean white background.  Although I can fix all of my high key photograph with this process I am still determined to master the high key photograph in the studio to eliminate the extra 3 minutes spent in photoshop.  Why?   If I have 30 pictures that need to be corrected that 3 minutes becomes 90 minutes, which decreases your earning per hour.  Not worth it anymore.  I took an introduction to photography class as a photography store and the instructor emphasized that he always aimed to get the photograph right in the camera the first time.  So I will continue to use this process as I spend time in my studio and PRACTICE, PRACTICE, PRACTICE!!!!!


                                      Before                                                        After


Before
After


Before                                               After


Before                                             After


Before                                                 After


Sunday, October 14, 2012

After church session

It has been a while since I took some shots.  So, after church I decided to take a few photographs to prove to my mother I made it to church today.  Below is Little Miss Brooke and Sidney.  Unfortunately Randy III was too quick about shedding his Sunday garments.  Enjoy!!


Please note that since it was a last minute photo session and some of  the backgrounds came out a little muddy.  I could've easily fixed it in Photoshop but I figured that could be another little entry about my journey...  ENJOY!!!!


Saturday, September 29, 2012

Monday, August 6, 2012

My last night in the BIG city.

The night before I left the big city I went out on my first night shoot with a great photographer...Rikki Gunnz of One Shot....One Still Photography in Brooklyn NY.  I was able to capture some nice shots of the bright lights, bridge, sky scrappers and everything that makes New York....New York. ENJOY and thank you Rikki and Natasha.


Friday, August 3, 2012

A day in the city....

Day 6 of our vacation and oh what a beautiful day it was.  A walk to and from Prospect Park and  trip to the South Street Seaport.  ENJOY!!!!!!!